
We needed a new lamp for the living room, but I'm cheap and didn't want to pay for one. I had seen tons of lamp redos online, and I figured that made me an expert.
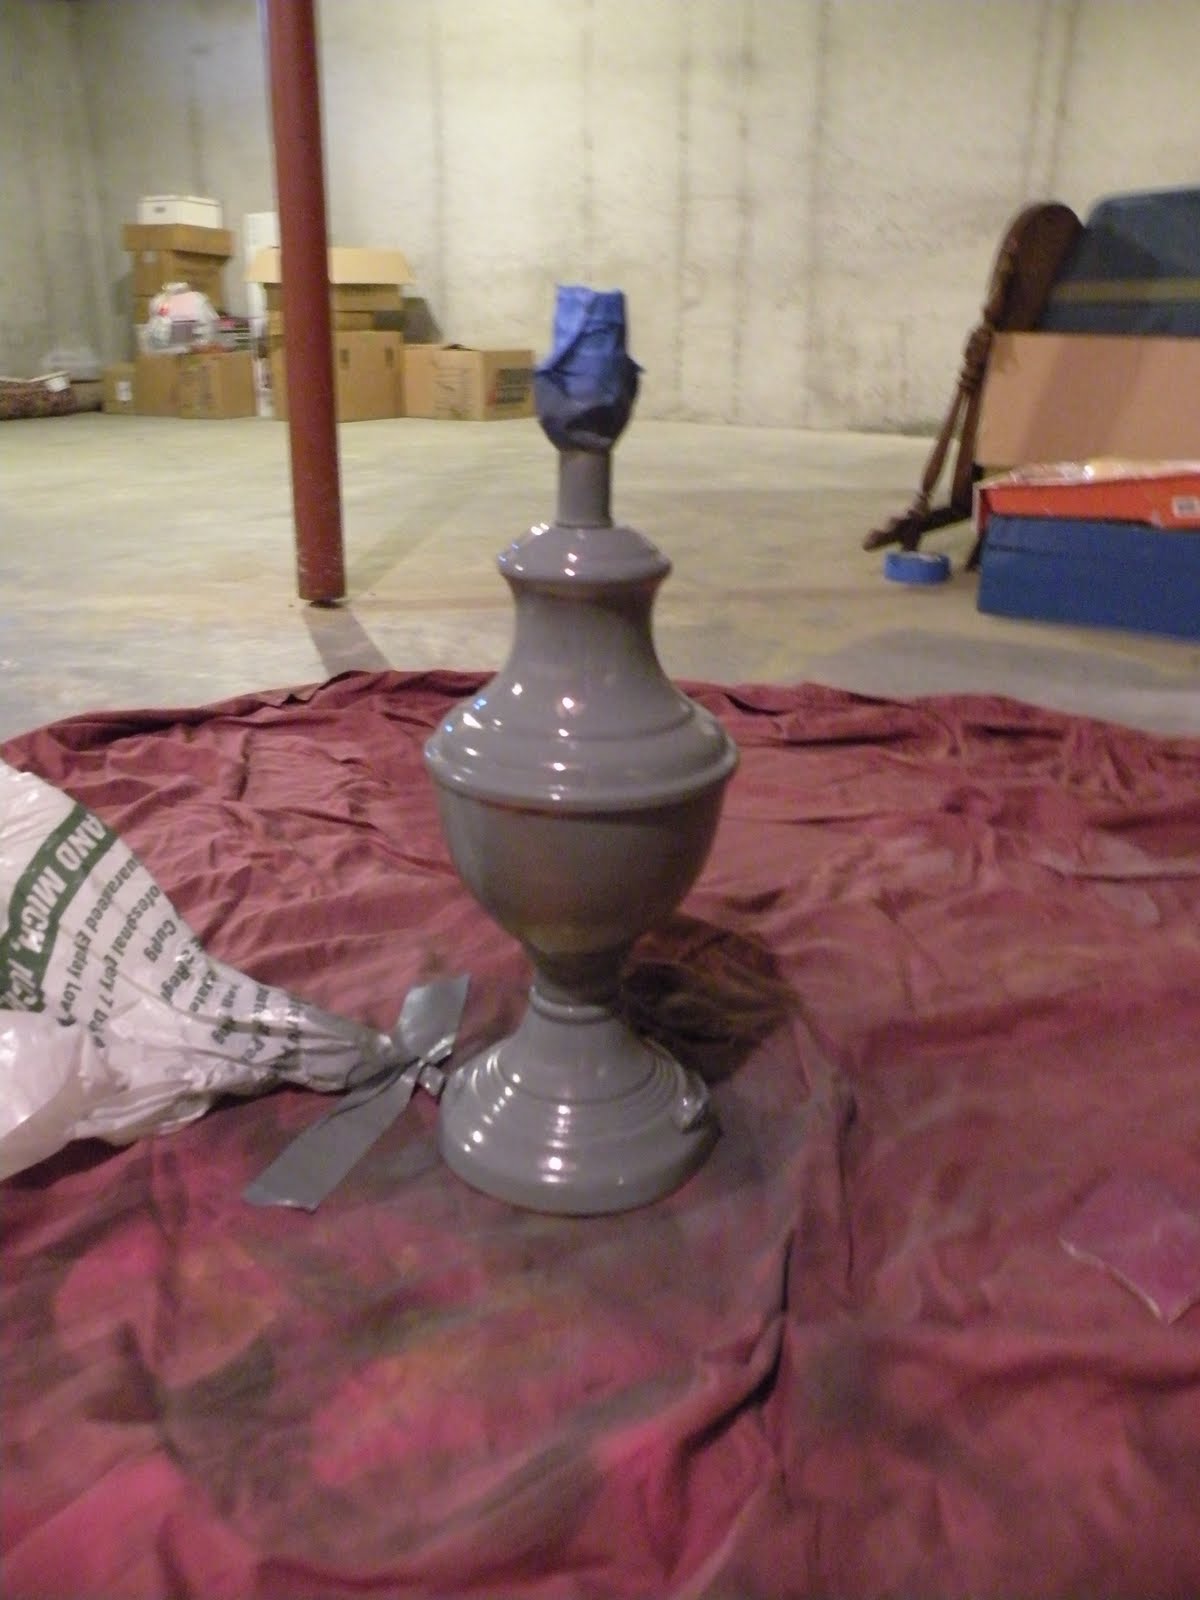
So I took the kids and went thrifting. This little gem had a pretty shape and was only $2.00! Now, it isn't a nice, heavy brass lamp. I would have issues scratching up and painting a nice lamp, no matter how cheaply I got it.

For those of you who have a lamp hanging around that needs some TLC to bring it back to life, here's how I did it, with some tips from the "learn from my mistakes" realm.

I used a gray spray primer {because I had it}. Priming also helps the paint to stick.
Meanwhile, I searched for a shade at a thrift store that I could recover, but they were all either the wrong shape/size or were sold with a lamp. I found this one at Homegoods on clearance for $5.00 because the ribbon was coming off and the seam was unglued. This wasn't a big deal since I was going to cover it anyway.


Pretty, but still a bit boring. I had a fabric remnant that I had planned on making into a pillow, but decided to recover the shade with it instead. I draped it over to see if it worked in the room. Check.


I used Elmer's spray adhesive for this project. A friend at Hobby Lobby actually took all the spray adhesives into the back and tested them for me. This one came out on top in her estimation, for what it's worth. It's the same adhesive I used for the pendant in our kitchen and we haven't had any problems.

I recommend two people for this next part. Handsome Hero sprayed the adhesive onto the shade {we've found that works better than spraying the fabric} and I smoothed the fabric over it. No, Mom, I would never be doing a dirty project in the pajama pants you gave me for Christmas. And, yes, for those who care, I do still have my D.A.R.E. shirt from when I taught in Delaware thirteen years ago. Is there a problem here?

Anywho, we lined up the fabric with the shade seam and followed around, working in small sections. That is important because if you want a permanent stick you have to attach the fabric within fifteen seconds. When we got to the end, we sprayed a little on the end of the fabric and I folded it over to make a seam.

That's the seam on the top, if you can tell. What? You can't? That's because we're professionals. Well, maybe it's because my picture is a bit blurry.

I used a glue gun to paste the the fabric lip to the inside of the shade.

I snipped the fabric to go around the wires.

And then it was done! This corner of the room needed something.

It still needs more, but this is a good start.

Purty!
No comments:
Post a Comment