I kind of love them. If you are so inclined, here's how I did it.
Then they got four or five thin coats of a glossy navy blue. After this, I left them alone for a few days to fully cure, so that they didn't get scratched from the rest of the process. Or from the kids. You take a guess which was likely to do more damage.
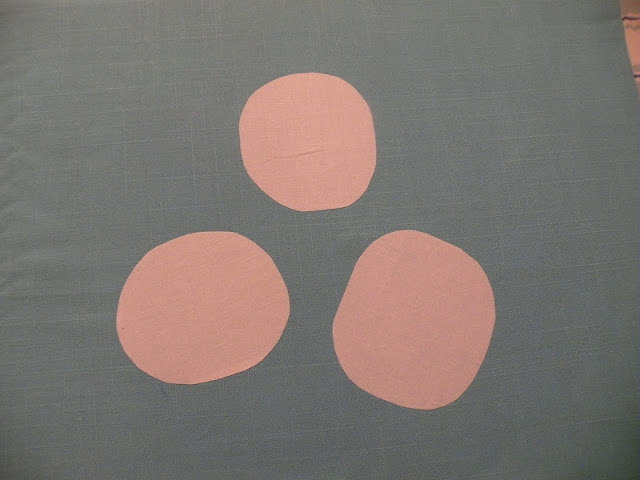
To make my stools into toadstools, I needed white circles. I used iron-on fabric adhesive that you can get by the yard at Joann's. It's the same stuff used to put patches on uniforms. I couldn't take any pictures of the process because I needed both hands, but the directions are super simple, and are right on the product.
Then I cut my main fabric with enough room to staple even over batting and foam.
Here's the fabric all toad-stooled up. I debated sewing down the edges of the circles, but the lady at Joann's had said it wasn't necessary with this adhesive, and since I was feeling lazy and they looked really well-attached to me, I left it. I did, however, scotchguard the life out of it. No use inviting stains, right?
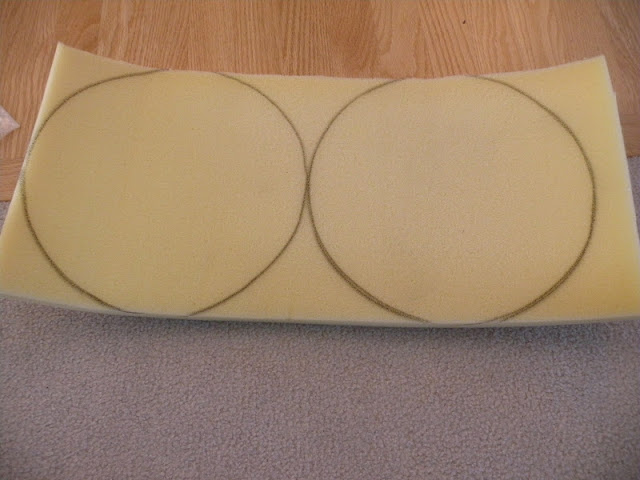
I had some leftover one inch thick foam on which I traced the stool top. It was easy to cut out the circles with regular sewing scissors.
I {or rather, Ella, in this case - note the pink bracelet which is her current fave} used spray adhesive to adhere the foam onto the stool. I don't know that this is necessary, but I wanted extra insurance since they are for kiddos and will likely take some supstantial abuse.
And here they are, looking like oreo cookies without the tops.
I cut some batting roughly three inches larger than the stools and it was time to start stapling!
I found that I needed to pleat the fabric with my fingers as I stapled. This is the first circular piece I have upholstered, so there was a learning curve. Here's what the first one looked like at this point.
At this juncture, I let the kids play with them. They were SO EXCITED to try them out! And I learned something - they are going to be even rougher on them than I anticipated. With that in mind, I pulled out some anti-fray stuff {I used Aleen's, found with the fabric adhesive in the store} to keep the white circles from fraying. I had never used it before, but lots of tutorials I have read call for it, so I felt comfortable going for it. It was not what I expected - it squeezed out like glue and I had to smear it with my finger.
The stool on the right has already been done. You can see that it darkened the edges a bit, but I kind of liked the dimension, and when Handsome Hero came home, he thought it was something I had done on purpose and was praising my creativity! Um, sure!
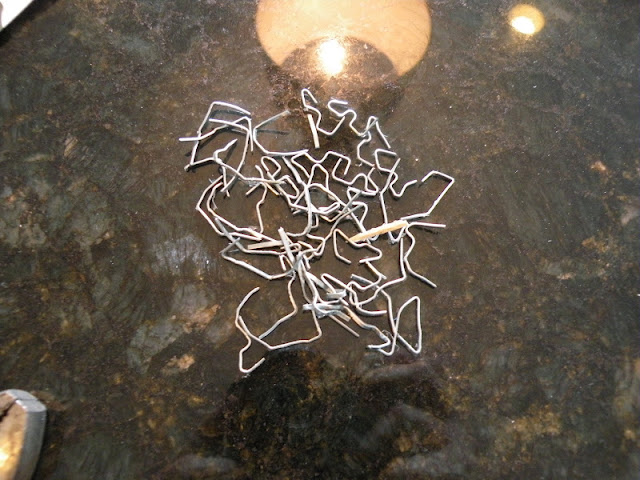
However, he noticed that the staples were not in the wood very well. I had used my hand stapler, thinking it was too small of a project to warrant getting out the air compressor and pneumatic stapler, but it just wasn't up to this job. So, per his advice, I went over it again with the pneumatic stapler, after which I pulled out all of the wonky staples. It took about five minutes and was so worth it. Look how warped these are! Some of them were barely in the wood, and I hadn't realized it. I just thought they needed to be pounded a bit with a mallet. Thank you, Handsome Hero!
After trimming excess fabric, this is what I was left with. Much cleaner.
I decided to hot glue some thick upholstery trim to the bottom so that little fingers wouldn't get hurt or accidentally tear the fabric. Though it may not sound like it, hot glue is the way most upholstery trim is attached, even by professionals. I was very liberal with the glue, using three glue sticks for one stool. The white at the bottom is where I loaded it up so that the trim didn't unravel. I'm sure there's a better way to do that....
I think it looks much better this way, and I LOVE the finished product. If it were going in a main room, I would care more about the "pleats" being even, but because it's going in the kids' room, I'm not concerned about that.
These will go really well with another little project I'm working on.
Don't ask, 'cause I'm not telling.
You can't make me.
Nope. I'm like granite. I can't be broken.
Okay, here's a hint. It rhymes with sable, able, stable, Mable, fable, cable, gable, and label.
How'd you get that out of me?
Well, at least I didn't tell you it's a table.
I can keep a secret.


Wow, those are sooo adorable! Really nice work on all the details!
ReplyDeleteYou are genius! I mean, really, you are amazing!
ReplyDelete