
Our dining room is a well-utilized space. It's open to other rooms and since we put the piano in what was intended to be a breakfast nook, we use the dining room nearly everyday.
This is what it looked like when we moved in. Dirty grass cloth wallpaper, skin colored trim and doors, beige metal mini blinds, and a rustic chandelier. Forgive the bad pictures. It is really hard to photograph in here.

We stripped the wallpaper, along with all of the other rooms, and removed the blinds.

Then we painted the trim white and the walls above the chair rail Sherwin Williams's Fawn Brindle.

I also made those curtains and Handsome Hero found the perfect chandelier, and when we realized how much we were going to be using this space, I reupholstered the dining room chairs in a surprisingly soft gray vinyl that looks like silk so they were more kid friendly. It is quite possibly the best decision I've made so far. What? You spilled your very red tomato soup or oil-laden pesto? No problem! The picture above was taken before reupholstering, though I did leave two of the zebra print seats for the head and foot of the table.
I love how the room is coming together, but the wood table with the wood floors with the wood chairs with the wood china cabinet was really boring. The china cabinet is a darker color than it looks in the picture, but the other wood tones were a nearly perfect match. I had a few options running around my head of how to break up the monotony.
1. Keep a table cloth on it. Not practical for an often used table. I like to use cloths for decoration, but I don't want to feel like I have to.
2. Put a rug on the floor. Appearance-wise, I liked this one. However, it would need to be a large enough carpet that the chairs didn't fall off the back when they were scooched out, and again, kids.
3. Paint the table. Definitely the most labor intensive solution, and one I wasn't sure I wanted to tackle.
The decision was eventually made for me. The finish on the table top began to rub off and I had to do something. Not just worn spots - if you put your arms on the table, you'd take the finish off. If you put a paper plate with something warm on it on the table, the pattern of the paper would make a mark on the table. This was no longer a question of décor. I couldn't ignore it.
My hesitation in painting the table was this. The table has TEN intricately turned legs, two on each corner and two in the center for support when the leaves are in. If I were to buy a table today, I would not choose this one. I would choose a really large table with two chunky pedestals instead of corner legs so that we could fit more people around the table in a pinch. I would love to seat 12-14 comfortably. We already have five, so if we have another family just a little bit bigger, or, heaven forbid, two families over at the same time, we don't easily fit and we have to go to two tables. First world problems, right?
But we already have this table, which already has two leaves. Buying a new table is very low on my priority list and I'm a work-with-what-you-got lady anyway, so I started thinking. I realized that I didn't actually need to strip, sand, and paint all ten of those legs. I could just redo the top.
That opened up a whole new can of worms. If I was just doing the top, I could do anything! I could stain it, maybe even in a pattern {I've been wanting to do that for awhile} but there was already so much wood going on and would I be able to make it look intentional? I tossed around trying to make the table top look like zinc, like this,
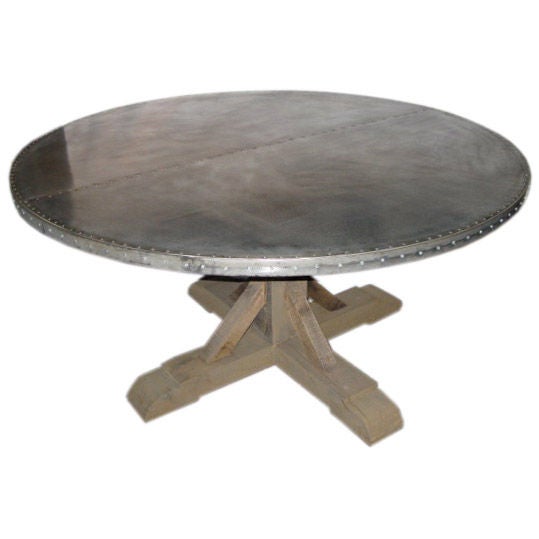
but our table top has a detailed edge that doesn't lend itself to a very industrial look. I ultimately decided to paint, but I didn't want to do a single color - that seemed overpowering and boring all at once. I thought of everything from a mottled look to racing stripes to a stencil and everything in between before finally deciding on diamonds. Not really a harlequin pattern, more diagonal squares, but the same idea.
I took the legs off and put the table on some saw horses outside. I used chemical stripper to get the bulk of the finish off, being careful not to get any on the sides.

It's pretty cool to watch the finish bubble up, and when it's done, you just scrape it off. Not that there was much finish to scrape off anymore.
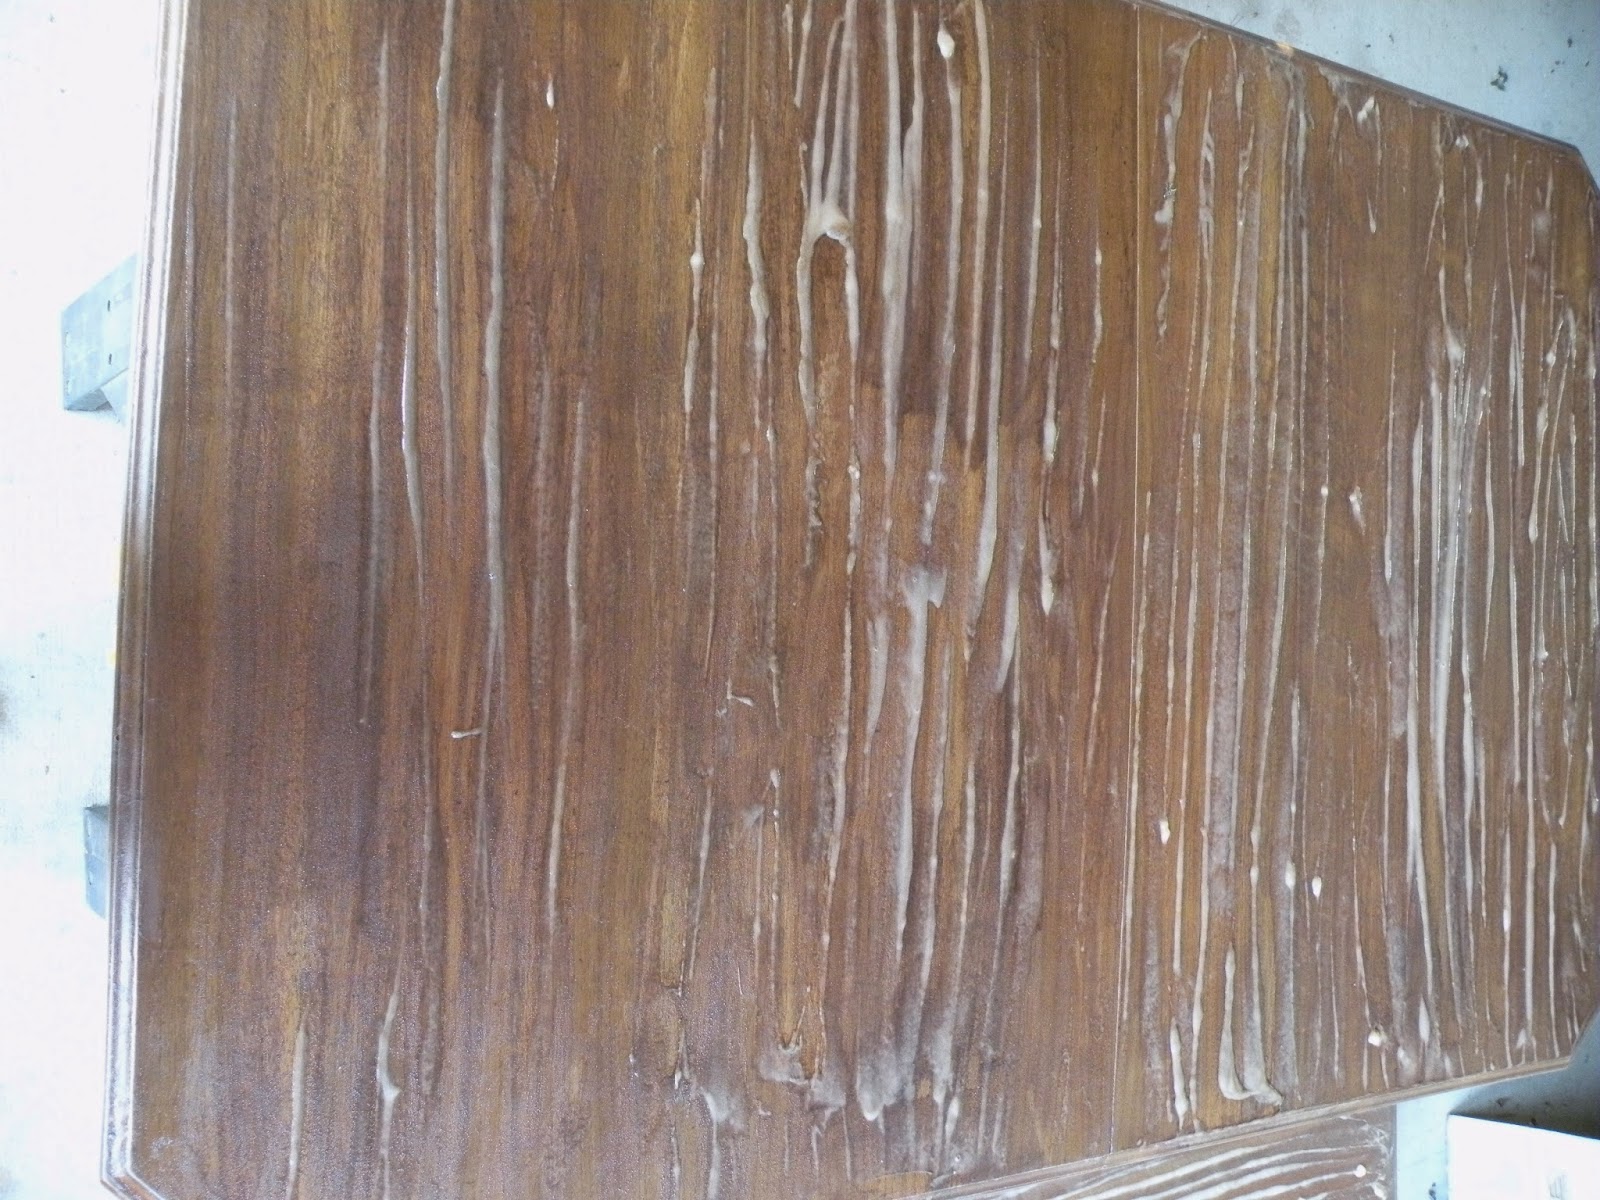
Can you see how dull the top looks now? It still has streaks, but I didn't have to do nearly as much sanding as I would have had to do.

I did sand it as smoothly as possible and filled in a few gouges it had gotten over the years. The table came from a consignment shop when we were first married, so it had "character" before it ever came to us.

Can you see the two "fingers" on the side of one of the leaves? That happened when I was scraping off the stripper. I immediately wiped it off, but the damage was already done. I was going to try to fix it, but once the table was painted, you really can't see it.
Once it was like buttah, I painted it with our entryway color, Sherwin Williams's Windfresh. The pattern itself was going to draw attention, so I chose to use two colors already being used in the house that were in the same color family so that the effect was more cohesive and less ice cream parlor. Once that was dry, I used the corners of the table to decide the angle of the diamond, using a carpenter's square and a long straight edge {in this case a level} to keep it all straight.

The size of the diamonds was determined by the leaves. I wanted the table to look right with no leaves, one leaf, or two leaves in, so I measured the leaves and figured out how long each diamond would be based on that measurement.

camera strap photo bomb!
I drew out the grid lightly with a pencil to make sure my lines and measurements were accurate.

Then I switched the leaves around and then took them out entirely so that I could see that all the lines worked out in any configuration. Thankfully, it worked and my diamond points met in all the right places.

Then it was time for frog tape. With the leaves back in, I taped off inside the squares that would be the lighter color. Then, because it was kind of dizzying, I marked the ones to be painted with a pencil. Though it looks hard, it really wasn't. Time consuming, but not difficult.

I had to take breaks just so my eyes could rest.

Finally, I painted the second color, Sherwin Williams's Fawn Brindle, the same color as the dining room walls.

I only did one coat because I didn't want to have ridges from two extra coats of paint in some areas. While it was still wet I removed the tape. After the paint had fully dried, I sanded it very lightly to remove any ridges that were there anyway. I made sure to sand all in one direction, which made for a smoother finish.

I didn't over sand or purposely distress it, but it is an old table and the legs were not touched, so I didn't want to pretend that it was brand new. I left imperfections like what you see below.

If you are going to work a table hard, like we do, you want it to last.

A painted top just begs to be scratched and chipped. I put five good coats of poly on this baby, with lots of drying time.

It's as sturdy as I could make it.

That didn't stop a child {for once, not one of mine} from gouging it with a fork before it could fully cure, but since then, I'm proud to report that it's doing great.

Because I had measured so carefully, I was overly confident when taping, and my perfectly matching seams are no longer so perfect, but it is a good reminder to me and really, no one notices them but me.

Since doing this project, we've had a few new additions to our dining room that further break up the wooden monotony. Meet our new captain's chairs.

I don't really like sets of things, so I wanted the break the chairs up anyway. I looked for over a year on Craigslist for something I could reasonably make over that was affordable, and guess what? No dice. Then I walked in World Market and found these beauties, on sale {plus I had a coupon}, they were going to cost way less than most of what I was finding on Craigslist, with the bonus that I didn't have to do anything to them!

And do you notice that nearly every color I'm using in the living room, dining room, kitchen, and entry {and even in the sunroom} is included here? They're easily moved to another location at some point if I don't want them in here anymore.

What do you think? One thing is certain, it is no longer boring.

P.S. The candlesticks were on clearance at Homegoods as were the new animal head additions you can see in a few pictures. I love that store.
No comments:
Post a Comment