
With Gater's situation and lots of illness hitting the rest of us, it's been a few weeks since I posted anything about the house, and I have lots I want to share, so here we go.
We have this wonderful fireplace with a brick hearth and lots of space above it for something spactacular to be displayed. It's a great focal point. The problem? I didn't have anything spectacular that would work there. I tried lots of options from among the artwork we've collected through our marriage, but nothing was right for this spot. Enter: the bookpage wreath.

This wreath is very easy to make, but it does take a bit of time. This one took two movies {that's how I measure time}, but it's very big - thirty inches across!
Here's what you'll need.
a wreath form
hot glue gun
an old book

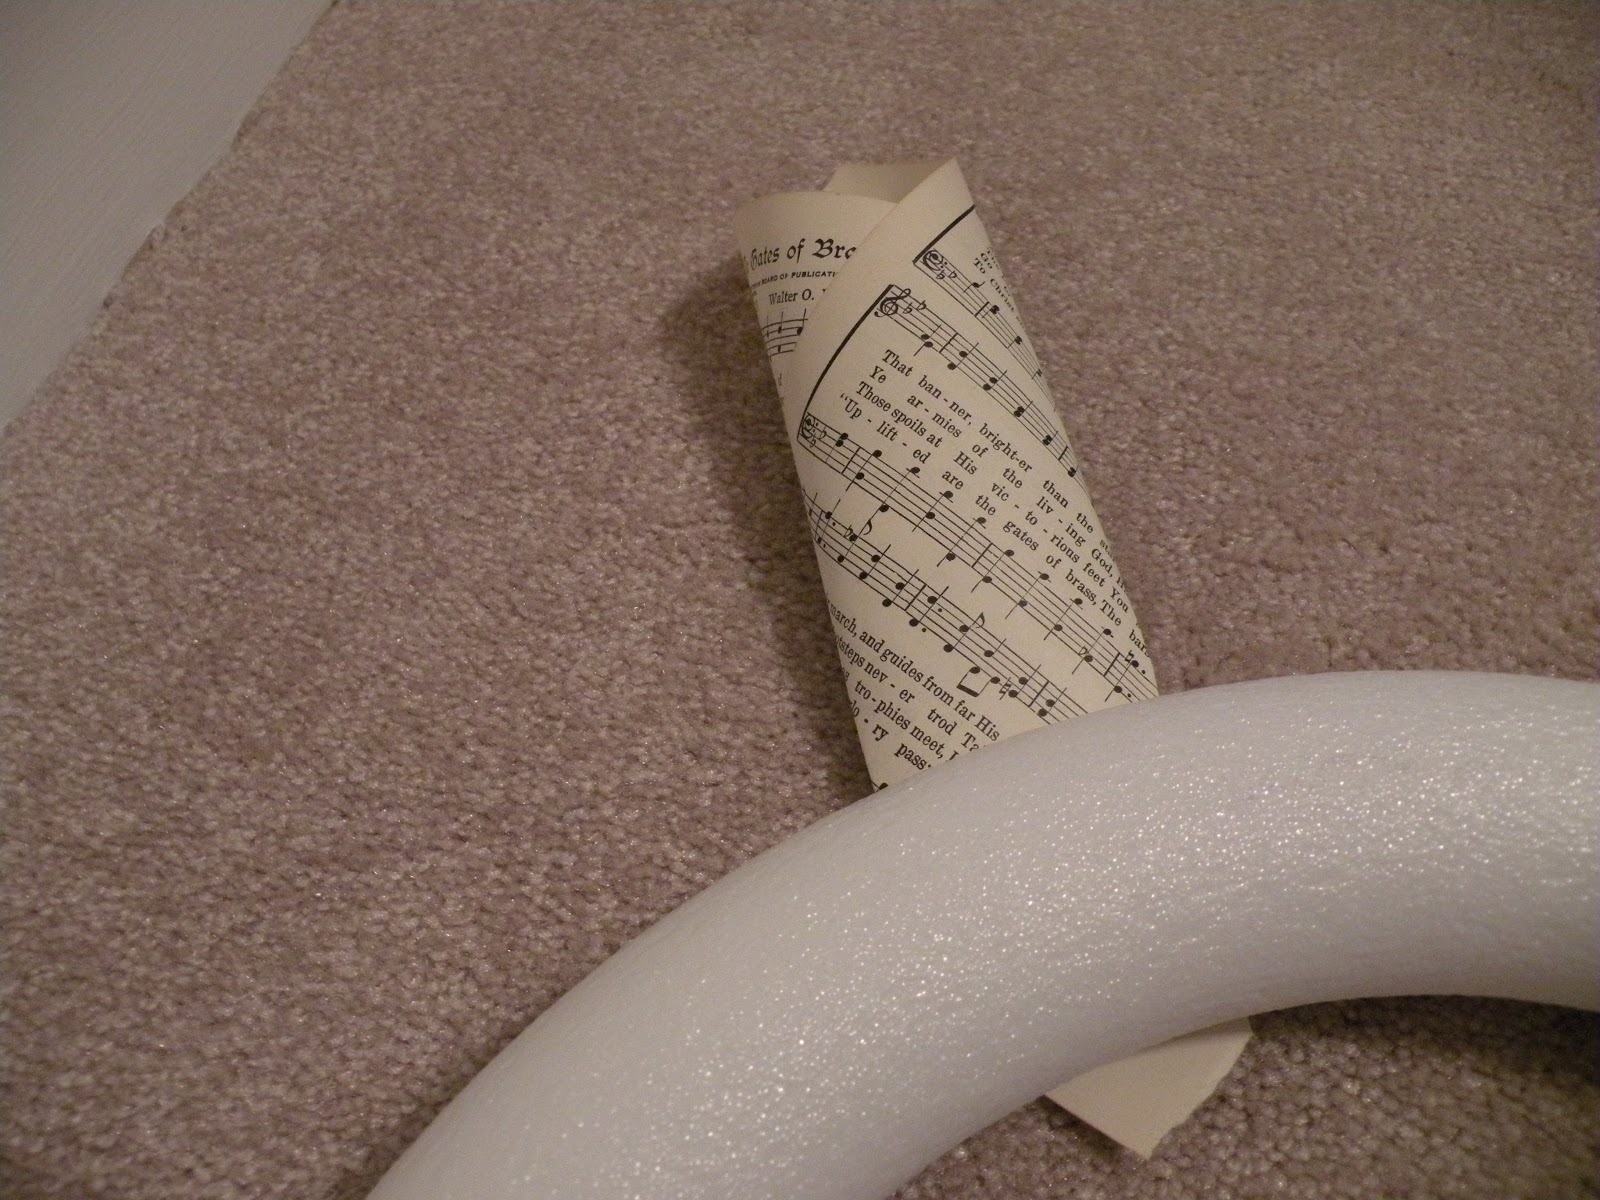
Carefully rip some pages out of your book. I used an old hymnal and it took about 3/4 of the pages.

Fold your page into a cone. If you'd like a more rustic look, use the ripped side. It comes out looking pretty and ruffly. I wanted a more modern flower-look, like a dahlia, so I used the top right corner of each page.

Put a dab of glue on the paper to keep the cone closed and then glue the front of the cone to the back of the wreath form. The picture below is the wreath from behind.

Here it is from the front.
Continue to do this around the whole circle. Try to make them all the same length, but don't worry about perfection. It's overrated and your wreath will look better if it has character anyway.

When you've gone around the whole thing, start your second layer from the front. I aimed for putting my second layer of cones inbetween the first layer of cones, but it isn't exact since the circle is slightly smaller. I also tried to make each row slightly shorter. This time you'll put the glue on the back of the cones and press down from the front of the wreath form. Notice that I glued the inside tips of my first layer to the form. That way none of the wreath form will show once you are done.

Here it is from another angle. The second row is on the bottom right of the picture.

Each layer after that is more of the same. Every once in awhile, back up and look at the wreath from farther away. It helps to keep everything even.

The cones just naturally begin to form this flower. As you get closer to the center, make your cones smaller or it will start to look funny.


Keep filling in until you like how it looks. I debated filling in the wreath completely so it looked more like a flower sculpture and less like a wreath, but Handsome Hero and I decided it looked better this way.

I like the texture it adds to the room, and being up so high, it won't be smooshed by little fingers.

You could spray it lightly with a clear acryllic spray to protect it. I will probably do this in the spring when I can do it outside and let it air dry.
I think this would be really cool in a kid's playroom or bedroom made out of a kid's book with colorful pages. Or in a kitchen {out of the range of splatters} made out of an old cookbook.

So there you have it. If any of you make a bookpage wreath, would you send me a picture? I'd love to see it.
P.S. There is no change in Gater. He hasn't gained weight in 3 1/2 weeks, though we've increased the number of calories he's getting from the feeding tube. We're doing therapy exercises designed to help him with any aversions he may have to a spoon or sippie cup, but no dice so far. I must confess to being discouraged, but he's still the happiest little guy you've ever met, and we are so thankful. He has pulled out the tube once and we had to go to the hospital to have it replaced, but he hasn't tried to do that again. Yet.... The rest of us are finally doing well, after colds and the stomach flu abounded. We are so thankful the Lord protected Nate from those things! Thank you for your prayers. They mean so much. I'll continue to update here.
Thanks for posting this! I shall attempt it!
ReplyDelete