I expect to mess up and fail occasionally.
In theory.
I mean, everyone does, right?
Right.
I am always surprised, though, when it actually happens.
Without further ado:
To the Brady bunch tune:
Here's a story.
'Bout a small bookcas-ie.
It was living in Ella's old room.

Now it needed a home - and a paint job.
So I took my cue.
Okay. That's as far as I'll take that. I thought the bookcase would be perfect in the piano room to hold my music which is currently in an inadequate cabinet. I could totally visualize it! A white bookcase with a white and yellow chevron pattern covering the back. How CUTE, right?!
Here's the problem. The bookcase is fake wood. Laminate. I've never tried to refinish fake stuff, but if I could do real wood, how hard could it be?
Ahem.
I prepped my little bookcase for some painting. By prepped, I mean that I wiped it off.

Then I took white spray paint and gave it two thin coats. Easy peasy.

My first hint of disaster struck during the second coat. I had a small drip, so I reached for a paper towel and wiped it up. It not only took the wet paint off, but also the paint from the first coat! Stink!!! With trepidation, I took my fingernail and gently scraped it, and this happened.
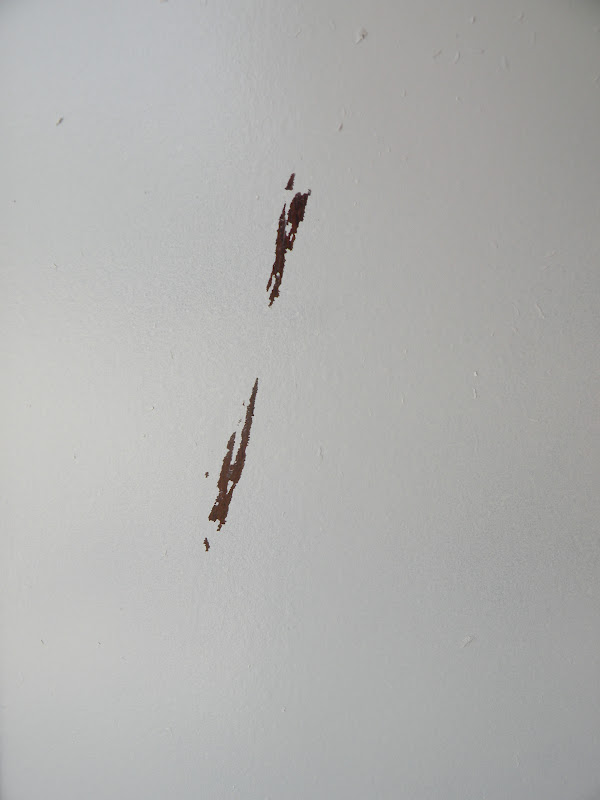
Can I please get a pat on the back for using the word trepidation?
I left it overnight to see if it just needed to cure longer {ha}, and went inside to do some computer research. Now, here's where I should mention that Handsome Hero had asked me to do this research before I started on the project. He had said that refinishing over what is basically a sticker wouldn't be like refinishing wood.
He was right.
So right.
But I was so confident! I knew that I couldn't sand it because, as he said, it was basically a sticker, so what other prep could there be?
Well, if you google something like "how to paint fake wood," you'll find several websites with instructions, all of which begin with, "sand the fake wood."
Sand the "wood." Who knew? Well, I would have if I had listened to my better half.
Bummer.
So the next morning, I tried to scrape it off the best I could with a snow scraper.

I got this far when I thought, "Why am I doing this? Is this such a precious piece of fake wood that I feel the need to make this work? Why not just wait to find the right piece of REAL wood furniture at the right price on craigslist and call this a lesson?"

So I hauled it into the basement where no one cares what it looks like and I'll use it for storage.
You can't win 'em all.
Lesson learned.
P.S. I did this a couple of weeks ago and am just now posting it, lest you think I'm some sort of super able-to-do-a-bookcase-fail-with-a-broken-leg kind of girl. I mean, you can think that if you want to. I don't mind.