
Last summer we redid Ella's room so that it didn't look like she lives in a dungeon basement. Jack has been waiting patiently for his turn to come out of the darkness, but he finally started wondering where his pretty room was.
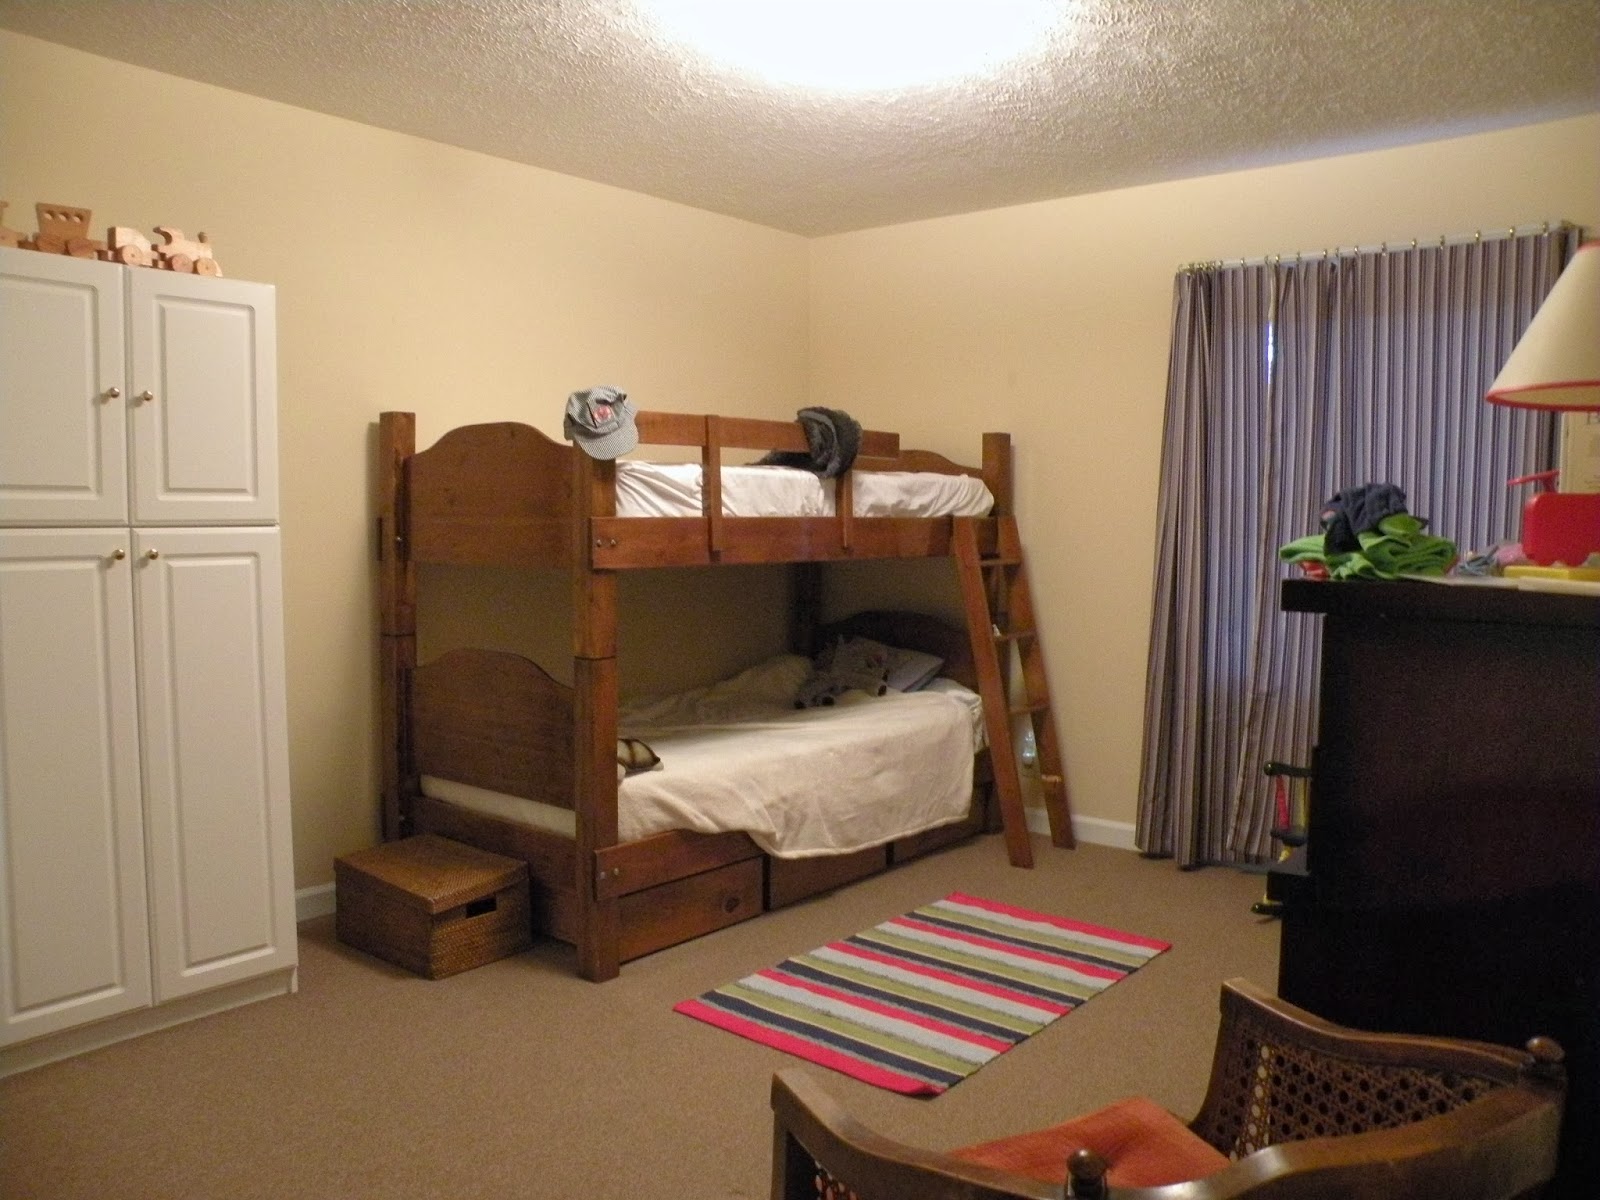
The room was dull, dingy, and screamed basement. There wasn't really a place for books and toy storage outside of the drawers under his bed {which are wonderful but not enough}, so we put this white cabinet in {above}, but it was always a bit tipsy and made me nervous. This definitely wasn't going to work for two boys - we're going to move Nate in here when he stops waking up talking and singing in the middle of the night. Yes, I'm serious.

I didn't really have a direction for the room except that it needed to be blue, the only worthy color in Jack's world. When I found this home décor-weight blue camo fabric on clearance for $2/yd, I bought them out. I used some for curtains, and will use more for other projects around the room. I have thoughts of making a teepee out of it. Wouldn't that be fun?

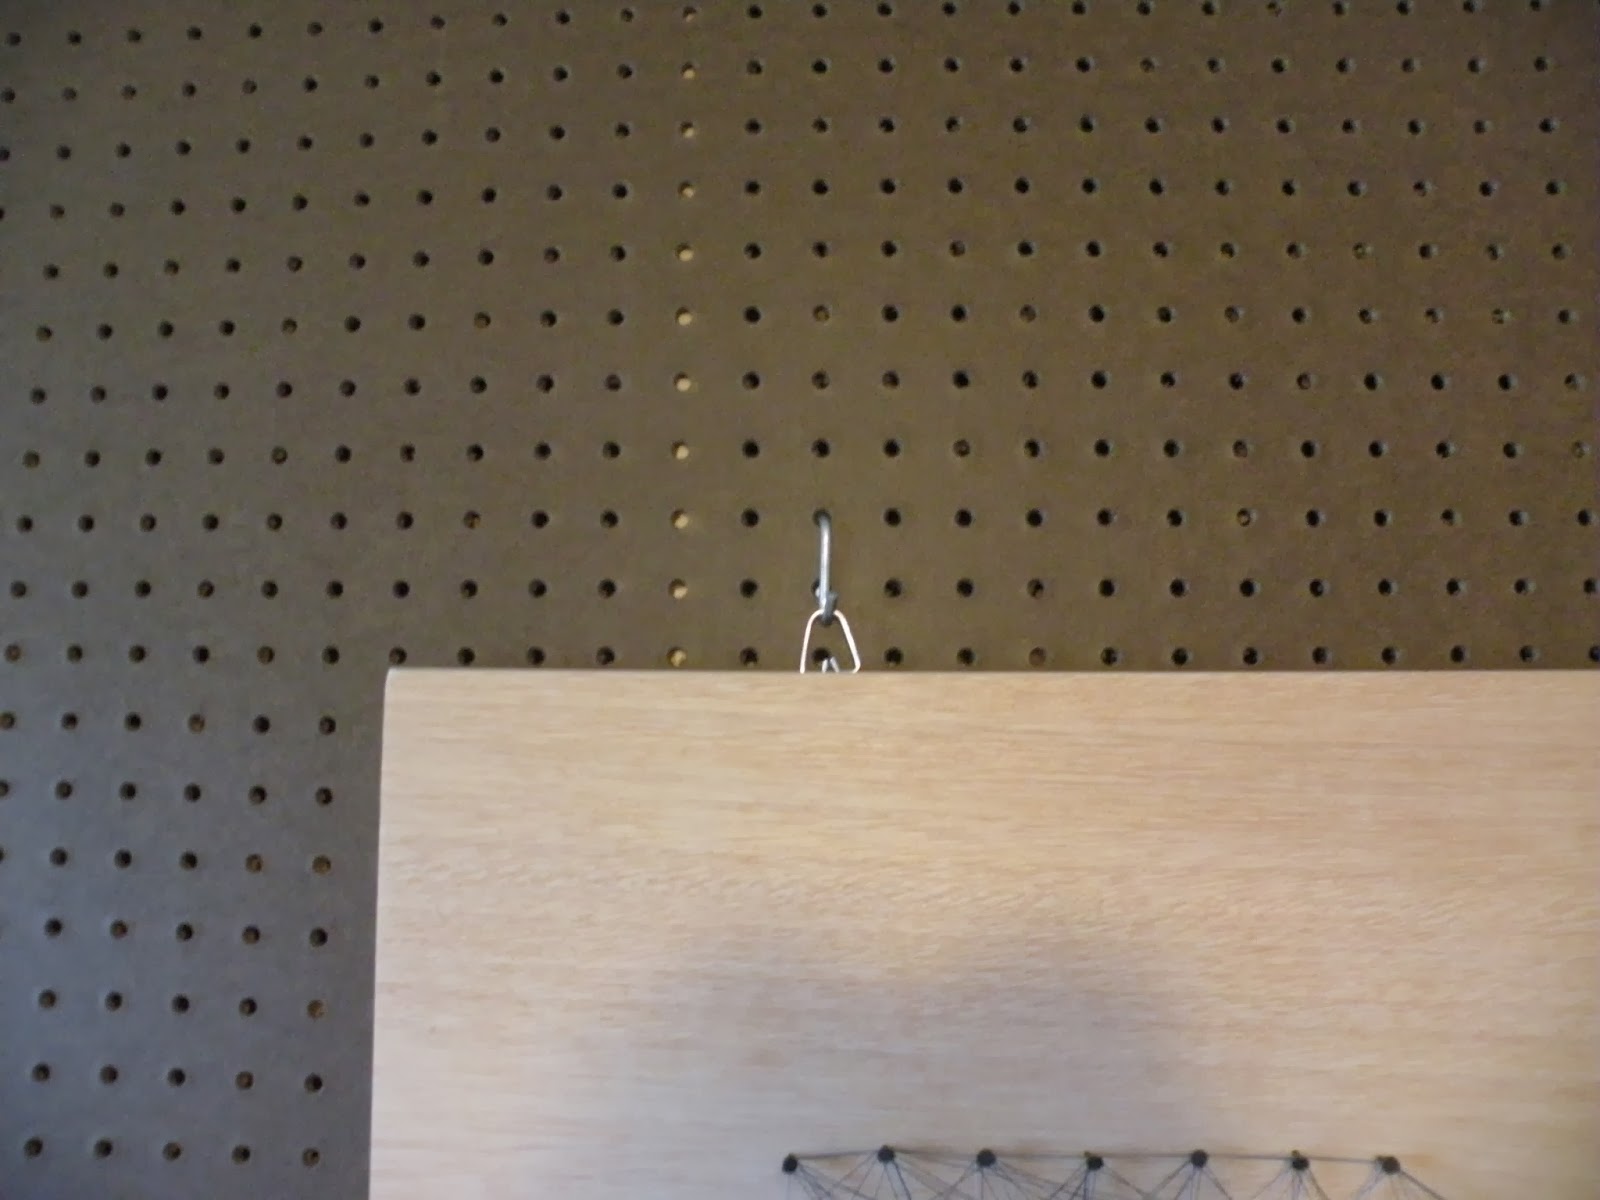
We painted the walls ultra white to make it as bright and cheerful as possible, which was a little hard for Jack to swallow, but he only has one window {which is always in the shade} and there is blue nearly everywhere, so he came around. The thing that makes the room is the peg board Handsome Hero installed along one wall. I love this wall. I like to pet it.

The bed area is the least complete. I don't have bedding yet, but it will be blue! I'm trying to figure out a solution to the difficulty of making an upper bunk. Any ideas? I'm thinking of doing away with the top sheet and replacing it with a kid sized comforter/duvet that can just be folded at the foot during the day. Also, we are planning to hang lanterns from the wall by each bunk so the boys each have a bunk reading light, and I'm going to make something for book storage. Not sure what. Maybe a book sling with a pocket for the flashlight? Maybe a narrow basket that we can attach to the wall? I don't know, but it will be pink! No, wait. That's not right. Blue!

These cute car prints came from Ikea and I already had the frames and mats.

I made this sign by simply tracing some letters and then nailing around my line, just eyeballing distance, and wrapping string randomly around. I still need to trim my threads!

The licence plates are from everywhere we've lived plus New York, where my sister lives and Handsome Hero's brother lived. The pegboard baskets came from a store that was closing in the mall. I grabbed all they had. I love that we can rearrange everything if need be. Peg board is just so BOY, you know?

Nothing's permanent. Everything is hung with hooks.
Jack loves his room. It took him a little while to be okay with it being white instead of blue, but he really enjoys playing in here now. He doesn't want it messed up and is beginning to take ownership of cleaning the space. I hope he stays that way.

Oh, and here's his closet. I didn't paint it, but I did move his workbench in here since it's still usable beneath hanging shirts.

Here's the cool part. See that little door? It leads to an under-the-stairs storage area that we are planning to make into a secret hide out. There's even another exit out the other side for escaping pirates and stuff. I'm already planning my Mom of the Year party.

This might be my favorite room in the house. I think it's because we took a design risk by putting up the pegboard. Or maybe it's because we worked together on it and had fun in the process. Maybe it's just because I love doing kid rooms.

So what's still to do? I found a low cabinet for book storage to take the place of the bookshelf under the window, which is actually a shoe shelf from our closet. You can't put any books upright and they keep spilling out, so that's next. Then bedding, bunk lights, and a book holder of some kind and we're done!
Until it's time to work on the secret passage way....


